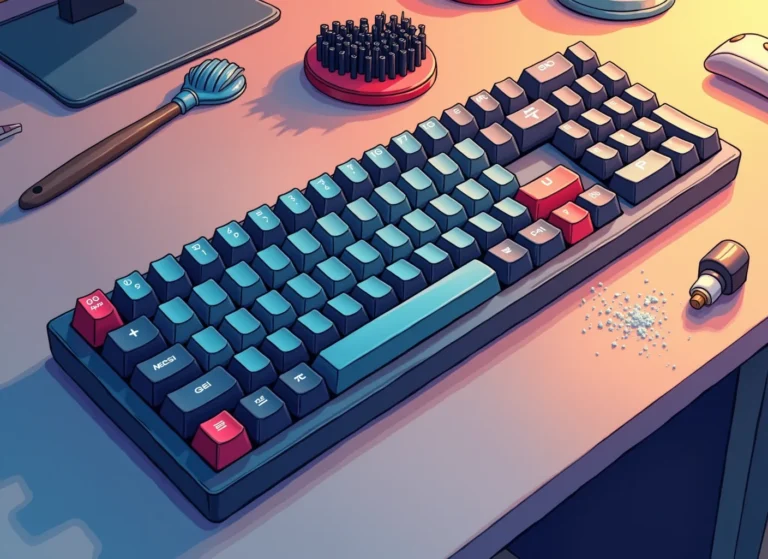
Master the Art of Cleaning Your Mechanical Keyboard
Step-by-Step Guide.


Author : Jan Jacobsen
Role : HVAC – Engineer , Freelance Writer
Date 03.24-2025
Introduction
Ever looked down at your keyboard and thought, “When did I eat Cheetos in 2023?” Yeah… same. Whether you’re a coder, gamer, or someone who just types a lot, mechanical keyboards collect dust, crumbs, and all kinds of mystery gunk fast.
As someone who’s used mechanical keyboards daily for years—through long engineering projects and too many snack breaks—I’ve learned how important (and satisfying) a good deep clean can be. Done right, it can bring your keyboard back to life and even extend its lifespan.
In this guide, I’ll walk you through how to clean your mechanical keyboard like a pro—step by step—with real product recs I’ve personally tried or vetted. No sales fluff, just what works.
Step 1
Unplug Everything and Take a Breath
Let’s start basic: unplug the keyboard. If it’s wireless, turn it off. You don’t want a sudden keypress triggering something mid-clean.
Quick Tip: Take a “before” photo of your keyboard. This helps you remember key placement later when reassembling (especially if you don’t use a standard layout).
Step 2
Remove the Keycaps (Carefully!)
Use a keycap puller—I recommend the KEMOVE P10
—it’s gentle, sturdy, and won’t scratch your keycaps, but expensive…
For a budget version i would recommend Qisan Keycap Puller
Here’s how:
1. Wiggle the puller under each cap.
2. Gently pull upward-it should pop right off.
3. Place the caps in a bowl for cleaning later.
Pro Tip: Take your time. Ripping them off like Hulk will only lead to regret and snapped switches.
Step 3
Shake Out the Loose Debris
Turn the keyboard upside down and give it a gentle shake over a trash can. You’ll be amazed (and a little horrified) at what falls out—crumbs, dust, pet fur, maybe the soul of a past coding session.
Step 4
Use Compressed Air for a Deep Dusting
For all the stubborn dust between switches, grab a can of compressed air like the Koonie Cordless Air Duster. It’s reusable, powerful, and environmentally friendly.
Technique matters:
Hold the keyboard at an angle.
Short bursts of air between the switches.
Rotate it for full coverage.
If you’re in a tight spot, a soft-bristle cleaning brush (like Camkix Multi-Purpose Brushes) can help sweep dust out gently without damaging components.
Step 5
Wipe Down the Surface
Use a microfiber cloth dampened slightly with isopropyl alcohol (at least 70%). Avoid dripping wet wipes—they can damage circuits.
Don’t forget the underside of the board—it gets grimy too, especially if you’re using it on a desk mat that’s seen better days.
Step 6
Deep-Clean the Keycaps
Your keycaps have been chilling in that bowl. Time for a spa day.
How to clean them:
Fill a bowl with warm water + a drop of dish soap.
Let keycaps soak for 20–30 minutes.
Rinse them well, then let them dry fully (air-dry overnight on a towel is best).
Avoid using a hair dryer—warping is real.
Step 7. Optional
Lube Your Switches (for the Enthusiasts)
If your keys feel scratchy or stiff, it might be time to lube your switches. This is a bit advanced, but worth it if you’re already in teardown mode.
Recommended lube: Krytox GPL 205g0 — widely trusted in the mechanical keyboard community.
You’ll need a switch opener and some patience, but the result is buttery smooth keystrokes.
Step 8
Reassemble and Test
Once everything is dry, snap your keycaps back on using that photo you took earlier. Plug the keyboard back in and test every key using keyboard-tester.com to make sure all is well.
And boom—your keyboard looks (and feels) like new.
Conclusion
Keep Your Keyboard (and Typing Flow) Clean
Cleaning your mechanical keyboard might feel like a chore, but trust me—it’s oddly satisfying and absolutely worth it. Not only does it extend the life of your gear, but it also makes your day-to-day typing feel brand new.
✅ Want something low-maintenance? Go with a hot-swappable keyboard—makes key and switch cleaning easier.
✅ Looking for a minimalist setup? I’d recommend a compact 65% layout that still includes arrow keys but saves desk space.
✅ Unsure where to start? The Keychron K6 is a solid, beginner-friendly choice that’s easy to clean and customize.
Frequently Asked Question
In my experience—absolutely. The tactile feedback and durability are unmatched, especially when you’re coding for hours. They’re more responsive, customizable, and generally feel more satisfying than standard membrane keyboards.
Mechanical switches reduce finger fatigue, especially if you use tactile or linear switches. Membrane keyboards feel mushy over time, and they wear out faster. If you type a lot or work long hours, mechanical keyboards are worth the investment.
Yep—whether you’re rocking a full-sized board, a 60% layout, or even a hot-swappable keeb, these steps apply. Just adjust based on your board’s design.
Disclaimer: This post contains affiliate links. If you click through and make a purchase, I may earn a small commission at no extra cost to you. I only recommend products I truly believe in. Thank you for your support!
Love , Jan.

